ADAPT Project
Device guides

You’ve received a free adapted device. Here’s how to use it.

Find your toy or tool below and select it for setup steps, troubleshooting, and a link to request a repair or replacement.

Adapted toys

5 guides
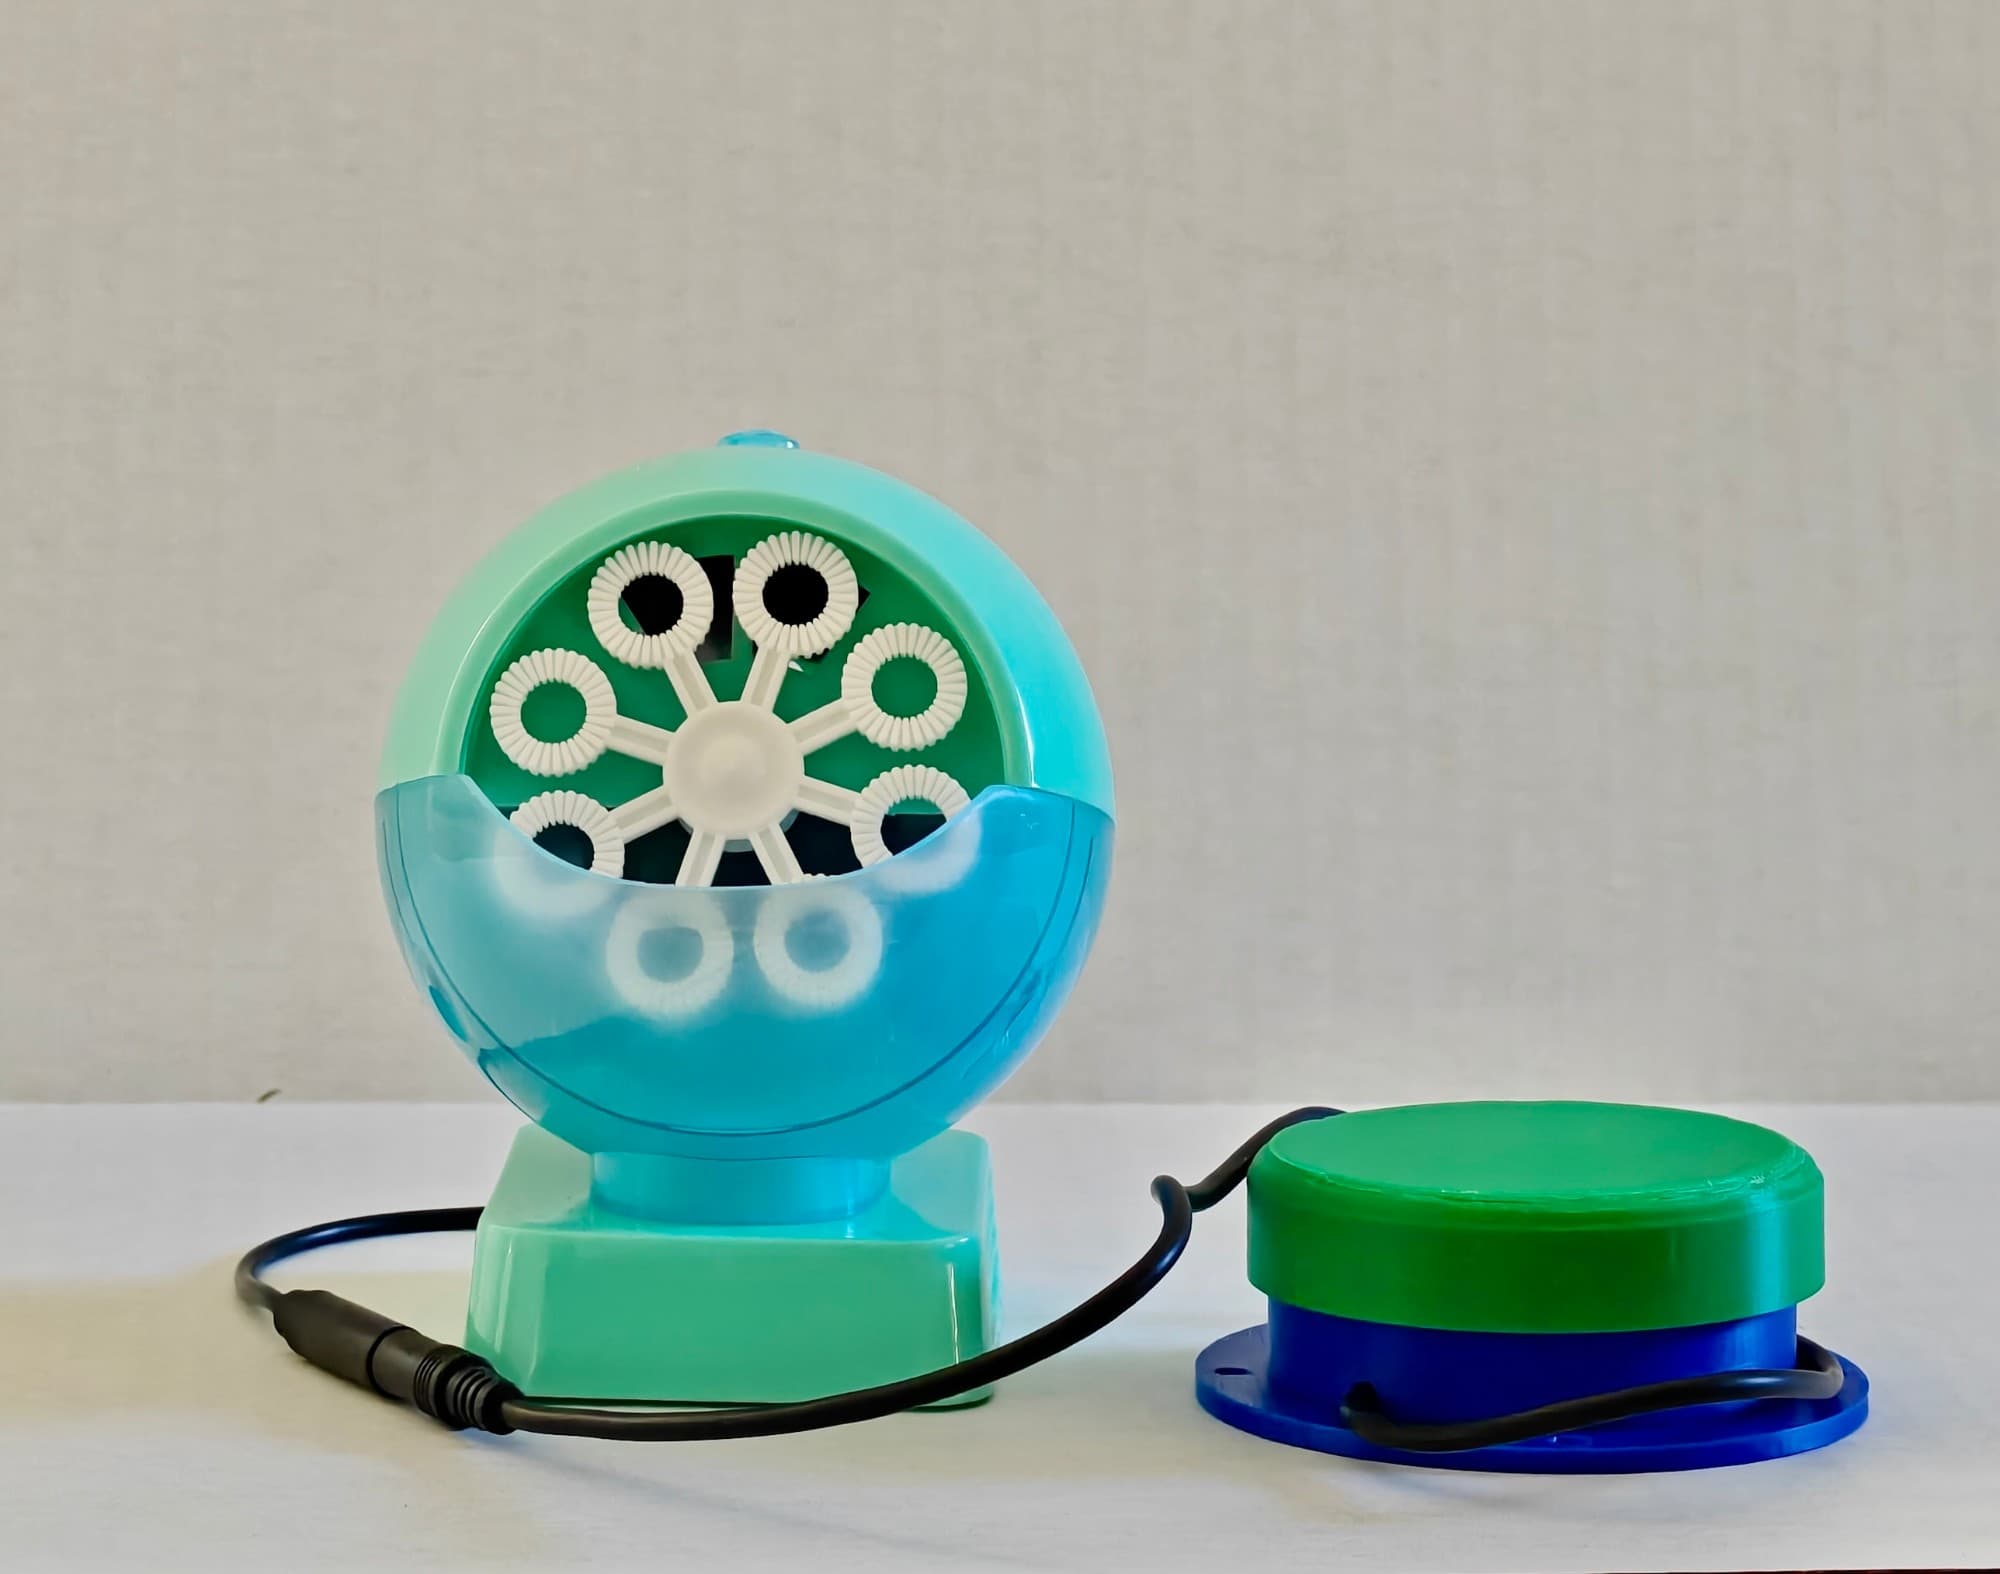
  • A teal bubble blower machine connected by a black cable to a green adapted switch.

    Blows a stream of bubbles. Uses one adapted switch.
    Bubble blower machine

    Setup instructions

    1. Pour bubble fluid from the orange container into the chamber in front of the spinner.
    2. Press the button on top of the toy to turn it on. You'll know it's on when the button stays pushed down.
    3. Plug the adapted switch into the toy's black cable. Press the switch and the toy should start.

    Troubleshooting

    Is the button on top of the toy pushed down?
    If not, press it again. See step 2.
    Is the switch plugged all the way in?
    Push the switch's plug firmly into the toy's cable until it won't go any further.
    I ran out of bubble fluid!
    Mix 2 cups of warm water, ¼ cup of sugar, and ¼ cup of dish soap for homemade bubble fluid!
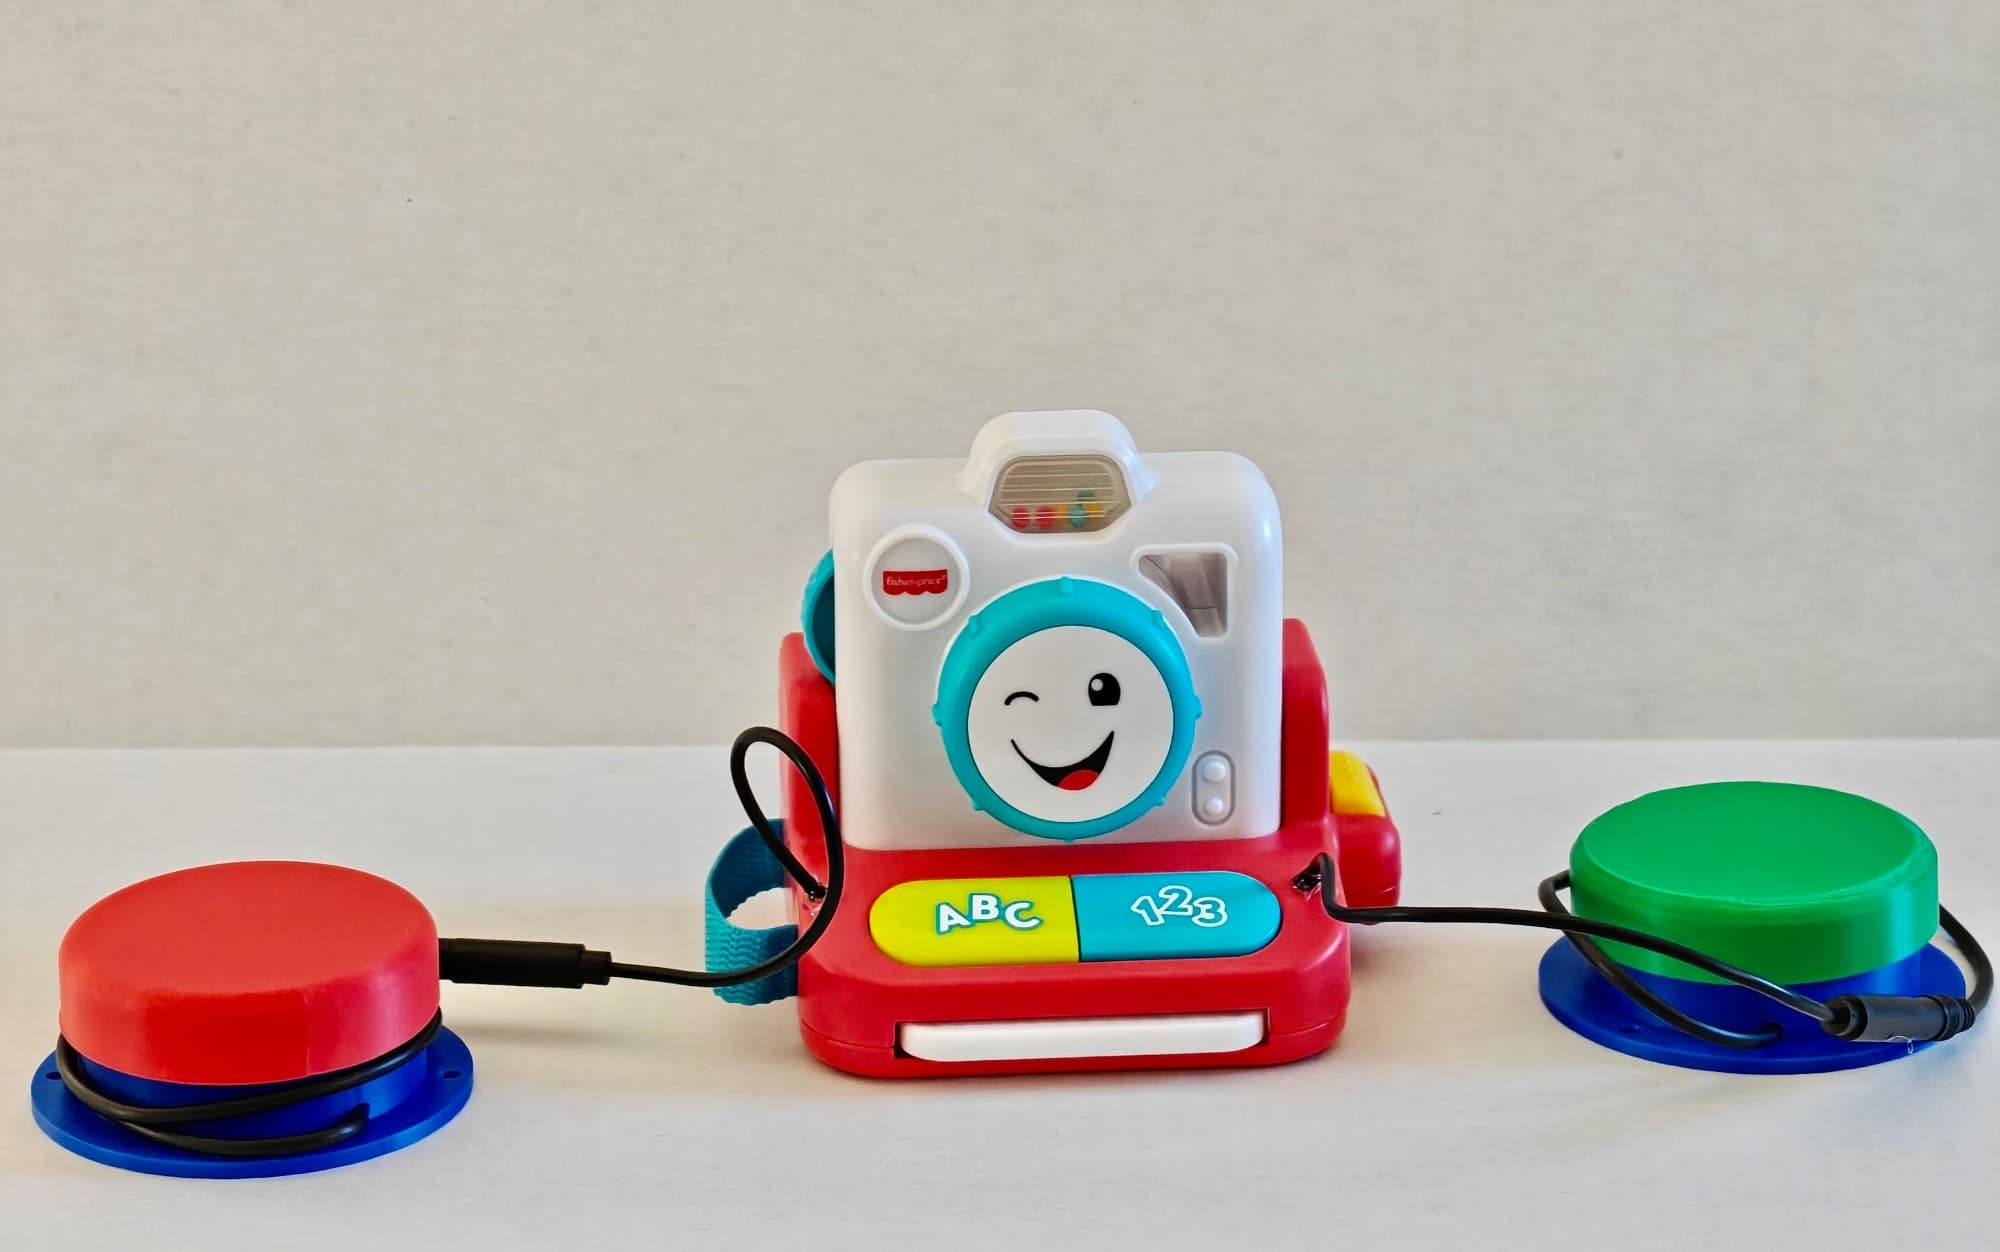
  • A toy camera with a red adapted switch on one side and a green adapted switch on the other, each on its own cable.

    Uses two adapted switches. There's no separate on/off switch.
    Camera toy

    Setup instructions

    1. Plug two adapted switches into the toy's two black cables.
    2. Press the two adapted switches and the toy should start. The toy doesn't have a separate on/off switch.

    Troubleshooting

    Does the toy have batteries?
    Check that fresh batteries are installed and facing the right way.
    Is the switch plugged all the way in?
    Push the switch's plug firmly into the toy's cable until it won't go any further.
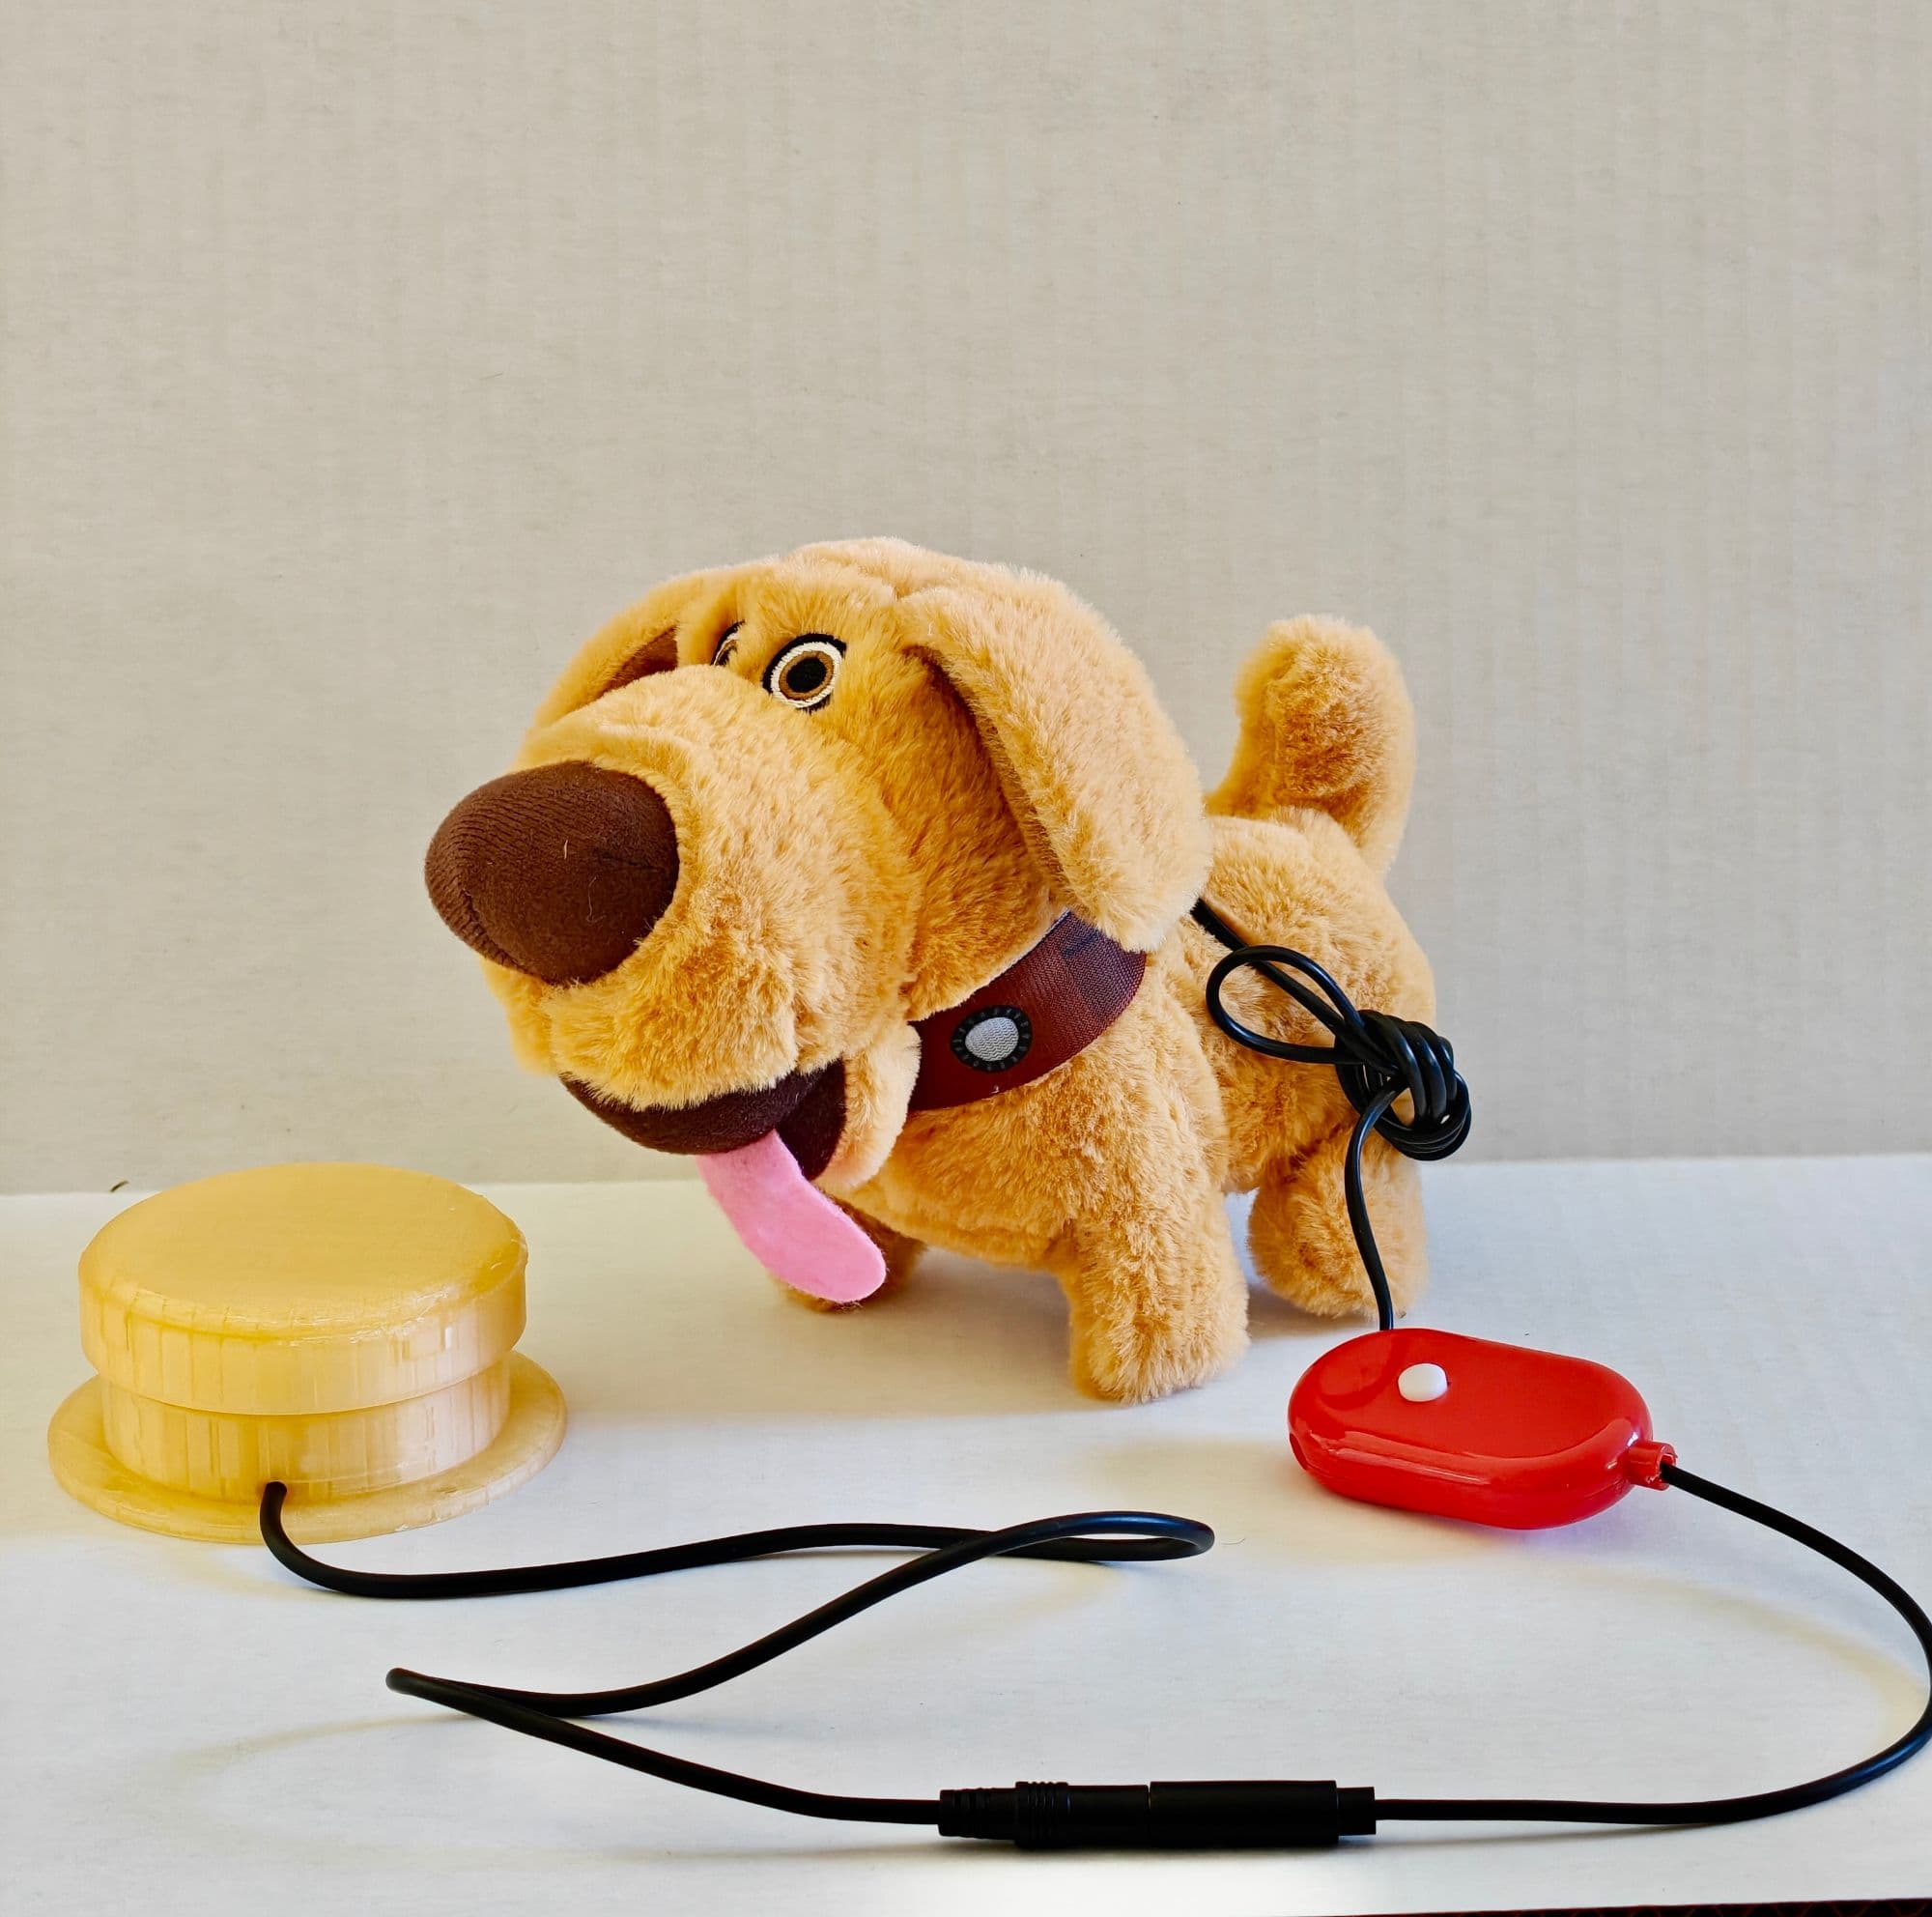
  • A plush walking dog with its red control casing and a yellow adapted switch, joined by black cables.

    Uses one adapted switch. Turn the toy on underneath first.
    Walking animal

    Setup instructions

    1. Turn on the switch under the animal.
    2. Plug the adapted switch into the black cable coming out of the red casing.
    3. Check that the white button on the red casing isn't pushed down.
    4. Press the adapted switch and the toy should start.

    Troubleshooting

    Does the toy have batteries?
    Check that fresh batteries are installed and facing the right way.
    Is the switch plugged all the way in?
    Push the switch's plug firmly into the toy's cable until it won't go any further.
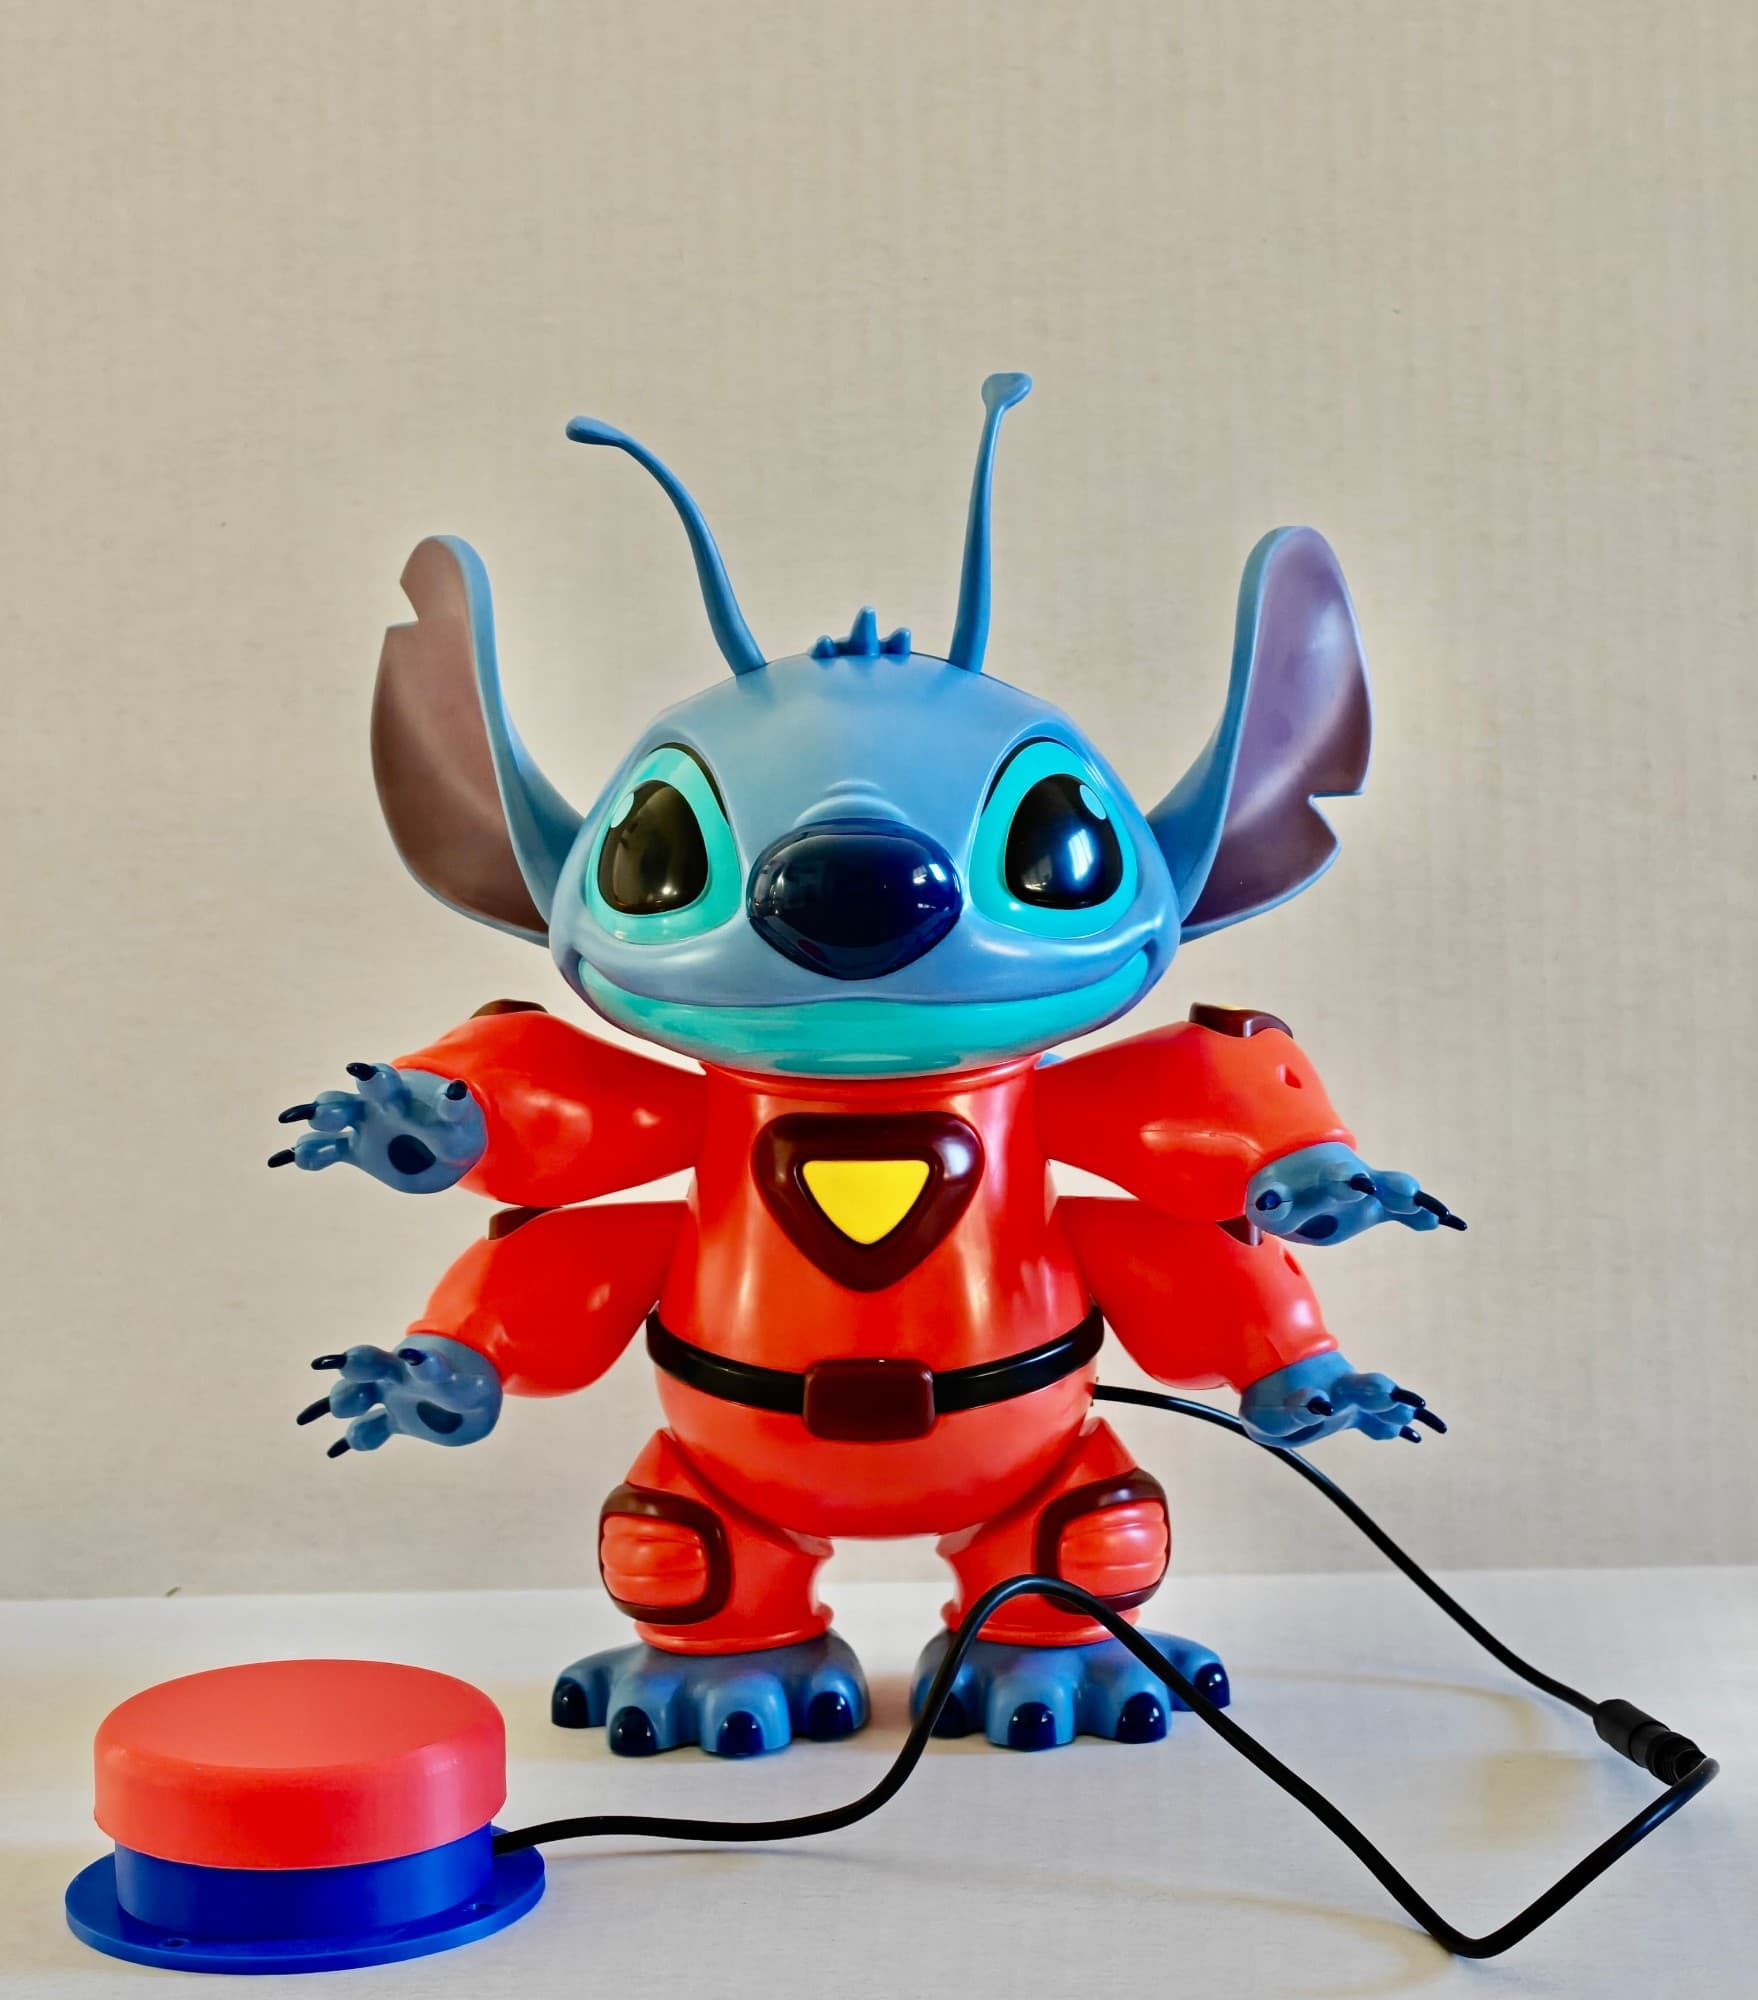
  • A Stitch toy in a red outfit connected by a black cable to a red adapted switch.

    Uses one adapted switch. The on/off switch is on the back of the head.
    Stitch

    Setup instructions

    1. Plug the adapted switch into the black cable coming out of Stitch's side.
    2. Turn on the switch on the back of the toy's head.
    3. Press the adapted switch and the toy should start.

    Troubleshooting

    Is the switch on the back of the head turned on?
    If not, turn it on. See step 2.
    Is the switch plugged all the way in?
    Push the switch's plug firmly into the toy's cable until it won't go any further.
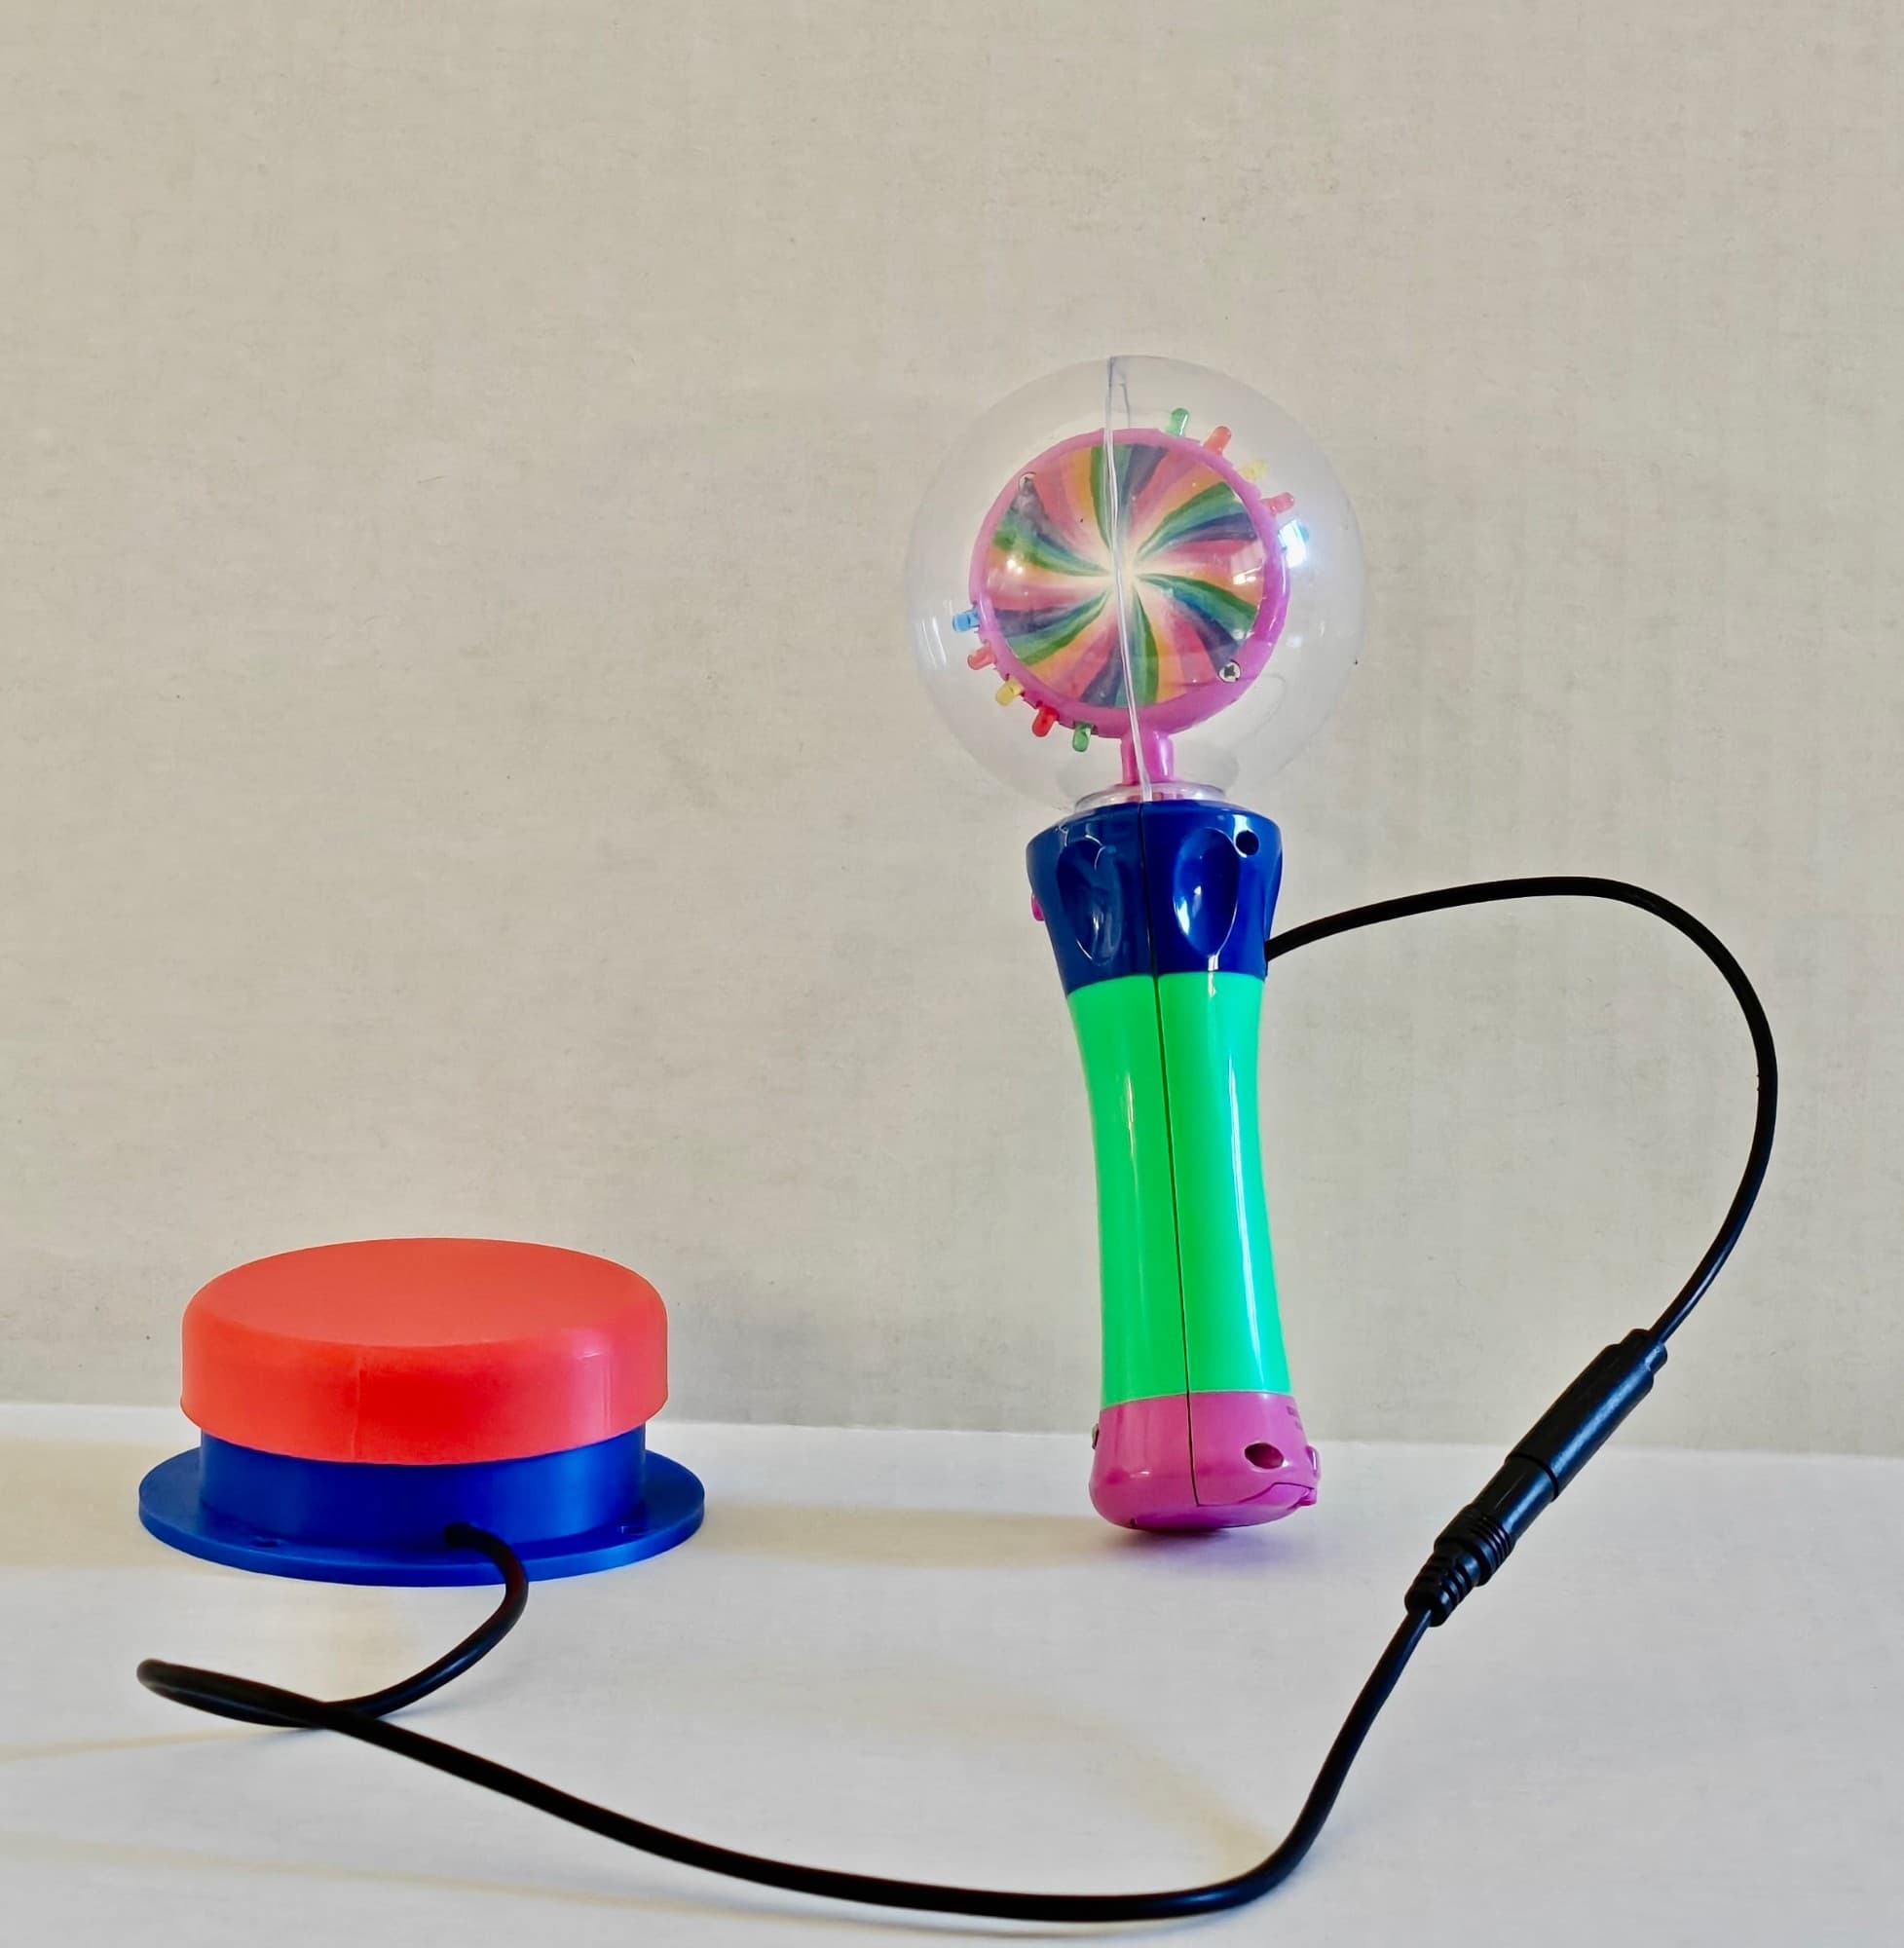
  • A light-up wand with a clear globe on top, connected by a black cable to a red adapted switch.

    Uses one adapted switch. There's no separate on/off switch.
    Light-up spinner

    Setup instructions

    1. Plug the adapted switch into the toy's black cable.
    2. Press the adapted switch and the toy should start. The toy doesn't have a separate on/off switch.

    Troubleshooting

    Does the toy have batteries?
    Check that fresh batteries are installed and facing the right way.
    Is the switch plugged all the way in?
    Push the switch's plug firmly into the toy's cable until it won't go any further.

Everyday tools

2 guides
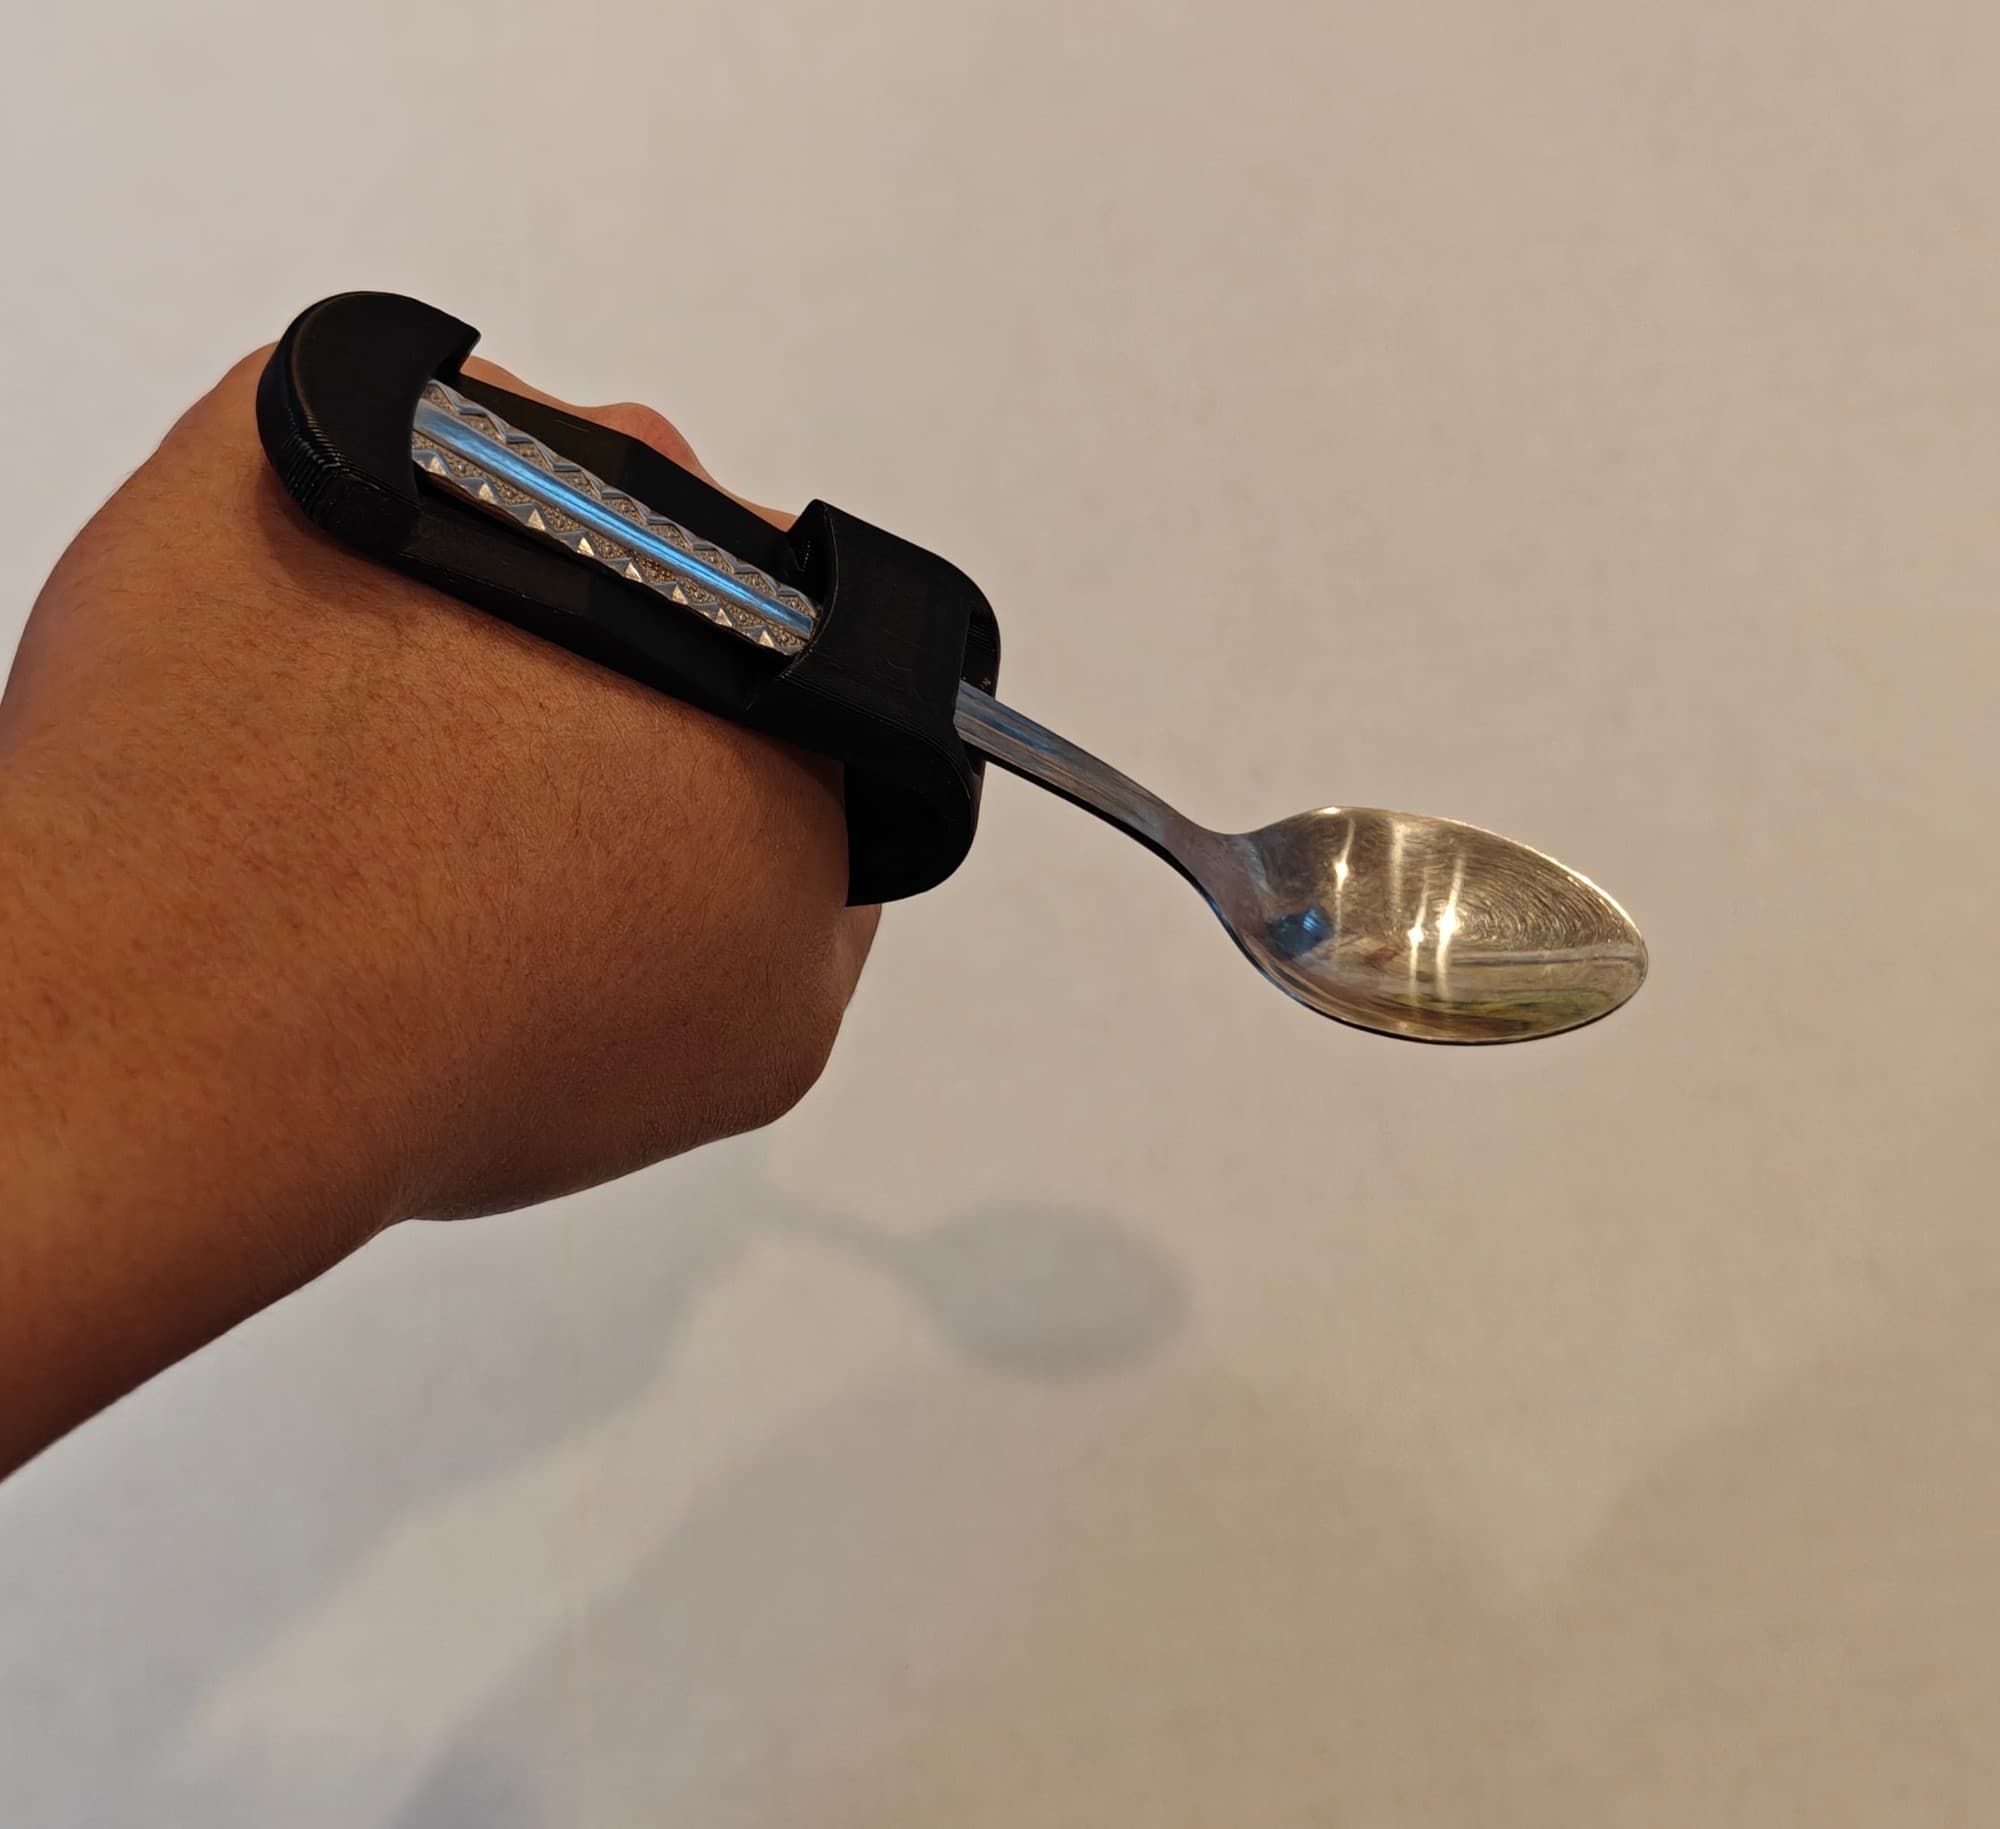
  • A black universal cuff worn around a hand, holding a spoon.

    Fits around the palm and holds a spoon, fork, or other utensil.
    Universal cuff

    Setup instructions

    1. Slide a spoon, fork, or other utensil into the slot on the cuff. The utensil's handle should be flat and thin.
    2. Slide the cuff onto the user's palm, with the utensil pointing out between the thumb and index finger.
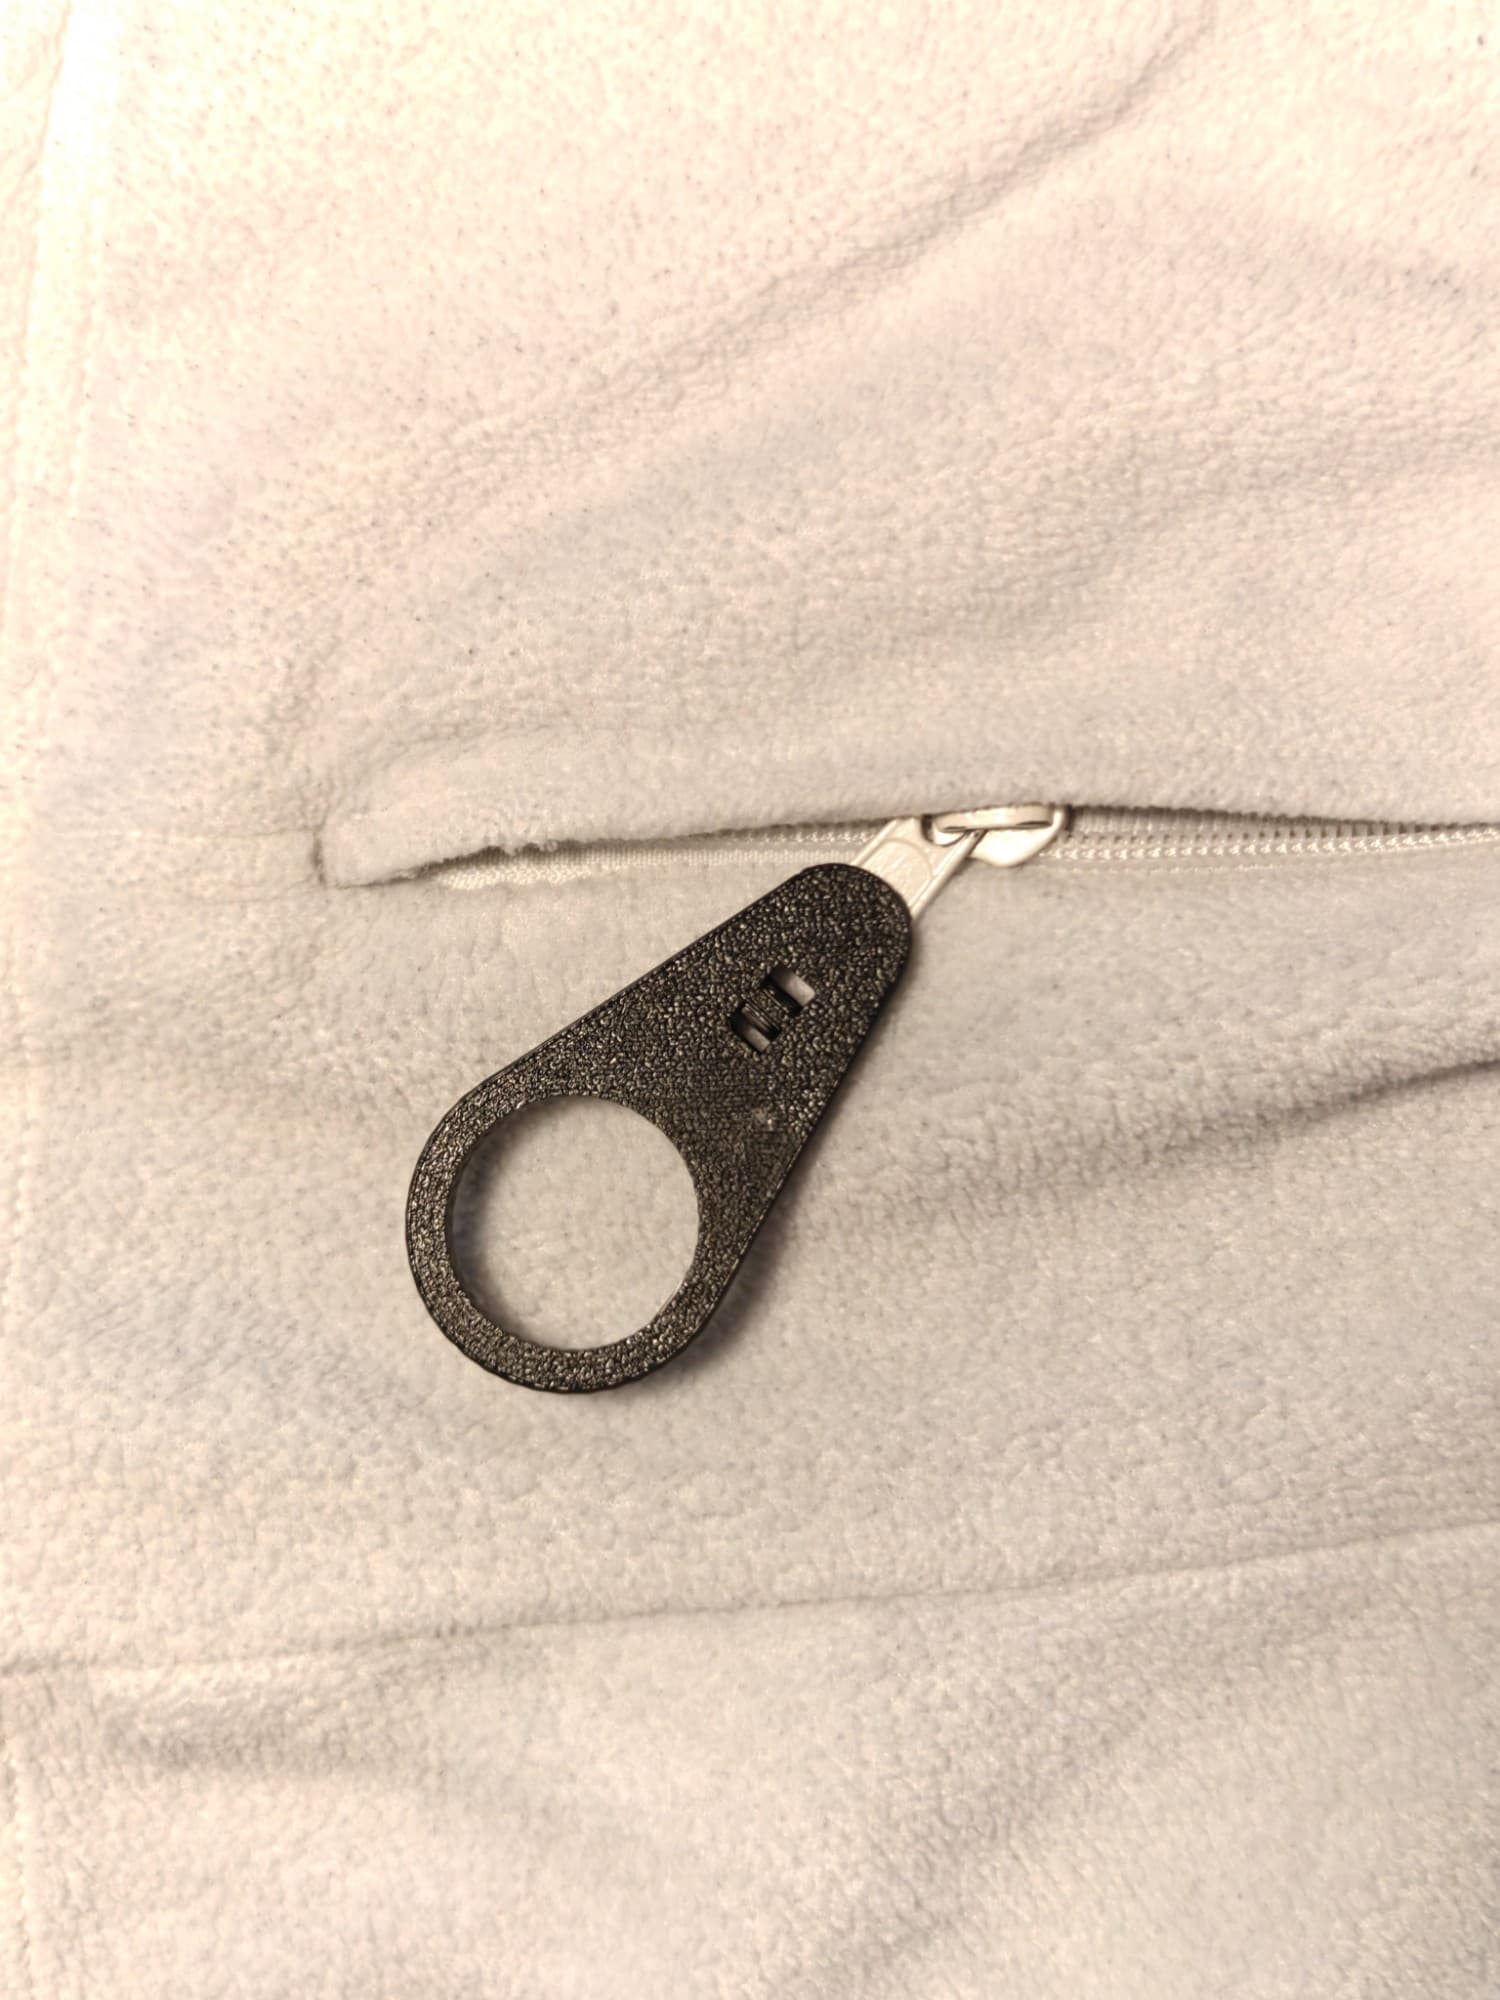
  • A dark gray 3D-printed zipper pull clipped onto a zipper.

    Clips onto an existing zipper to make it easier to grab.

    Zipper pull

    Setup instructions

    1. Turn the zipper pull so the side with the indentation faces the zipper.
    2. Press the zipper into the zipper pull. This might take a bit of force.